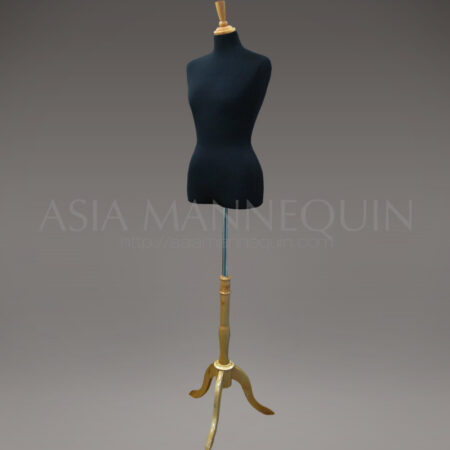
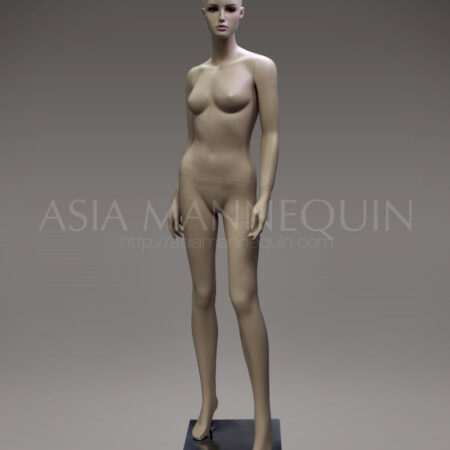

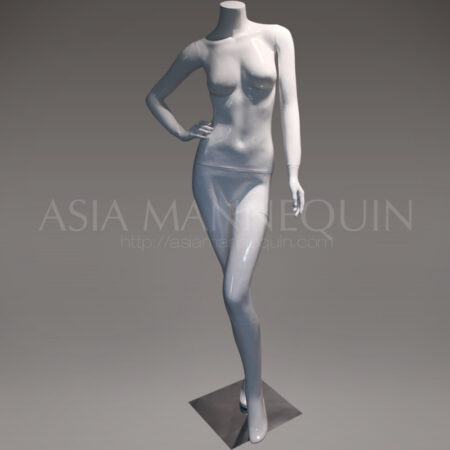
Dress a mannequin in the wrong order and you end up undressing it again. The fix is simple: build the outfit the same way a person puts it on, from the layer closest to the body outward. Store staff call this the inside-out method, and it is the fastest way to get a clean, wrinkle-free display without fighting the fabric halfway through.
Here is the order, step by step, and the small details that make the finished mannequin look sharp instead of stuffed.
The usual problem. You dress the coat first because it is the star of the look. Then the shirt has to go on under it, so the whole thing comes off again. Twenty minutes later the display is still bare and the fabric has pin holes in all the wrong places.
Why the order matters
Every layer changes how the next one sits. A base layer that is too bunched will show through a shirt. A shirt collar folded the wrong way will poke out of a sweater. If you dress outerwear first and try to add layers underneath later, you have to peel it back off, which stretches seams and leaves pin holes in the wrong spots.
Working inside out means you fix each layer while you can still see and reach it. By the time the outer layer goes on, everything underneath is already sitting right.
What you need before you start
- T-pins or straight pins, for pinning fabric from the inside
- Binder clips or bulldog clips, for taking in extra fabric at the back
- Double-sided fashion tape, for keeping necklines and hems in place
- A step stool, so you can work at the mannequin’s shoulder and head height without straining the joints
Lay the full outfit out flat first, in the order it will go on. This takes two minutes and saves you from re-opening a layer you already pinned.
Step 1: Take the arms off first
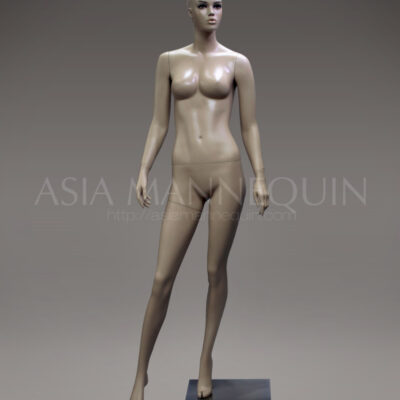
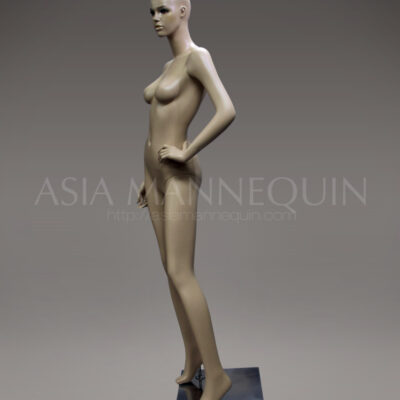
Most retail mannequins have arms that detach at the shoulder or the bicep. Remove the arm before you start dressing, not after. Slide the sleeve onto the loose arm, then reattach the arm to the body through the sleeve. This is far easier than trying to force a sleeve over an arm that is already fixed in place, and it stops seams from stretching.
Step 2: Start with the base layer
Even a layer nobody will fully see, like a base tee or shapewear, affects how everything on top hangs. Put it on first and smooth it flat against the form. Pin any loose fabric at the back or under the arms, where the pins will not show.
Step 3: Add the first visible layer
This is usually a shirt or blouse. Button it from the top down, working slowly so the buttons sit straight. If the shirt is tucked, tuck it fully before you move on, since it is much harder to tuck once a jacket or sweater is over it. Pin along the side seams, not across visible fabric, to take in any extra room.
Step 4: Build up the mid layers
Add a sweater, vest, or cardigan next. Check that the collar of the layer underneath sits where you want it, either tucked in or folded neatly over the new layer. Straighten the shoulders before you move to the next piece, since a twisted shoulder seam is one of the easiest things to miss and one of the most obvious things a shopper will notice.
Step 5: Outerwear goes on last
A jacket or coat is usually the first thing a shopper sees from across the store, so give it the most attention. Button or zip it partway to hold its shape, then adjust the drape at the shoulders and the fall of the fabric down the front. If the coat is meant to look open, position the lapels evenly on both sides before you step back to check.
Step 6: Dress the bottom half
Pull on trousers or a skirt, then tuck in the top layer through the waistband so nothing bunches. Secure the waistband with pins from the inside if it is loose on the form. Check the hem falls evenly on both legs, especially if the mannequin is on a raised stand where shoppers will see the trouser break at eye level.
Step 7: Pin and clip for shape
Once the full outfit is on, go back over it and remove excess bulk. Binder clips at the back seam are the standard fix for a size that runs large on the form. Pin cuffs so they sit at the wrist instead of sliding down the arm. Nothing here should be visible from the front.
Step 8: Accessories go on last
Belts, scarves, bags, and jewelry go on only after the silhouette is set. Adding them earlier means you will knock them out of place while you are still working on the clothing layers underneath.
Step back and look
Walk to where a shopper would actually stand, at the front of the display or across the aisle, and look at the mannequin from that distance and angle. Details that matter up close, like a slightly crooked collar, often disappear from a few metres away, while a slouched shoulder or an uneven hem becomes obvious. Fix what you can see from there, not just what you can see standing next to the form.
Common mistakes to avoid
- Dressing outerwear before the layers underneath. You will end up removing it again, which stretches seams and adds pin holes.
- Skipping the base layer. Outer fabric can gap or show the form underneath without it.
- Leaving pins loose. A pin that only catches a thread or two will not hold, and the fabric sags within a day.
- Forgetting to check both sides. Shoppers walk around a display, not just past the front.
Get the right mannequin for the job
Detachable arms and a solid stand make every step above easier. Start with a form that dresses well.